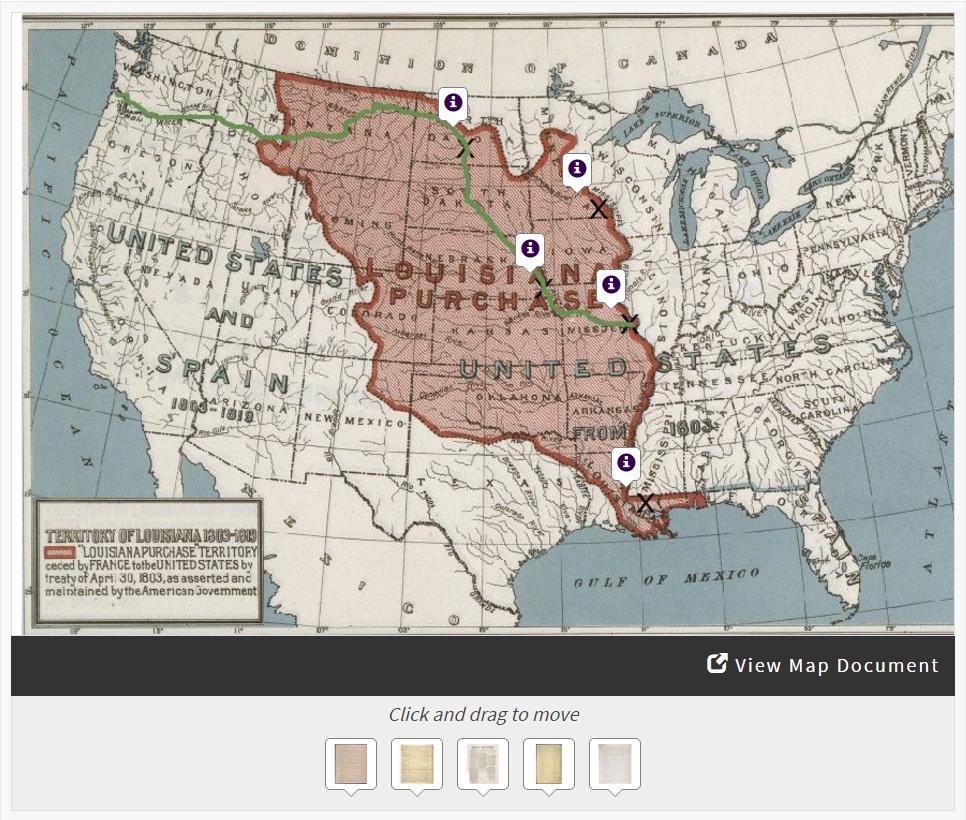
 See activities created with the Mapping History tool.Plot primary sources, descriptive text, or boxes for student response on a historic map, outline map, or other document. Or ask students to position these elements on the map to demonstrate geographic understanding.
Learning Objectives
- Use geographic information and information gleaned from primary sources to formulate historical conclusions
- Understand geographic themes and the impact of distance, location, landforms or waterways, and other geographic features on society and history
- Visualize geography and understand the themes of place and location
- Explore human-environment interaction and the theme of movement
- Appreciate changes to society over time
- Understand the influences of physical geography and the environment on history
To Create a Mapping History Activity:
- Go to My Activities and create a new activity.
- Choose documents to include; pull in all pages of a document, or only specific pages. You can include a historical map to use as a background, or choose an outline map in the next step. Add your own text. You can also upload images to include documents, photographs, or other images from sources beyond the National Archives. Decide whether students will be able to access all of the details available for the documents (including dates and descriptions) or simply the document images and titles.
- Choose your background image. This can be any of your documents or uploaded images, or a U.S. or world outline map. Use the full image or crop it to show a specific section. You can use the drawing tools to annotate it.
- Move the markers for the documents, text, and student responses to the map/background image. Or leave them where they are for students to move.
- Write instructions for your students, including an introduction and conclusion. You can include questions or a follow-up assignment in your conclusion. Students can email their responses to you if desired.
- Preview the student activity and create a snapshot.
- Lastly, describe your activity to other teachers by providing a summary. Tag it with the appropriate historical era, historical thinking skill, level of Bloom's Taxonomy, and grade level. You can also include detailed teaching instructions.
Teaching Tips
- Model document analysis with at least one document in the activity before asking students to begin interacting with the documents and map. Remind students to analyze the rest of the documents (and map, if using a historical one) carefully.
- Students should always be prepared to explain their placement of each document — how they gleaned geographic information from the documents and how that translates into placement.
- Ask students to hypothesize about the placement of the documents or annotations on the map before formally beginning the activity. The exercise can act as a pre-assessment and can help to guide students' thinking. This establishes a purpose for viewing the documents and students will begin to contextualize them.
- Due to the open, interpretive nature of Mapping History, follow activites with class discussion or writing assignment to further contextualize the documents and the historical conclusions made.
- Students can see how historical maps often look very different from contemporary maps and closely examine them to discover what has changed since the historical map's creation.
- Use the drawing tools to demonstrate a manmade or physical feature on the map and ask students to form conclusions about it.
- Students can see differences in landforms, resources, and climate in regions of the United States or across the world through photographs placed on a map.
- Students can practice forming historical conclusions about geographic regions. Choose documents that reference locations and ask students to plot document pins according to these locations. Ask students to analyze the locations that were pin-pointed and to formulate an interpretation about the location. This method can be used to consider physical, economic, or other features of a region.
- Activities can introduce primary sources to younger students and help them practice basic document analysis. Construct an activity with simple written documents or photographs, posters, drawings, or audiovisual media. Walk students through analysis of the map and each document, instructing them to look at the document first as a whole and then pay close attention to the details. Students can decipher what each particular document is, brainstorm a location for the document, and move it to the map.
Back to all tools.


